
Page 15 - Lightroom Magazine Issue 26
P. 15
› › lightroom magazine › ›
radial filter tool
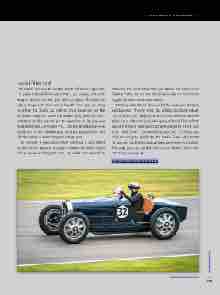
The Radial Filter can be used to create off-center vignettes. To apply a Radial Filter adjustment, you simply click-and- drag to define the area you wish to adjust. This adds an ellipse shape with four corner handles that you can drag to refine the shape, as well as drag anywhere on the boundary edge to rotate the shape; plus, you can click- and-drag on the central pin to reposition it. Or, you can hold down the Command (PC: Ctrl) key and double-click anywhere in the preview area to add a Radial Filter that fills the entire current cropped image area.
By default, a new adjustment will have a zero effect at the center, getting stronger toward the outer edges of the ellipse and beyond. You can switch this around by
checking the Invert Mask box just below the Radial Filter Feather slider, or use the Apostrophe key (’) shortcut to toggle between these two modes.
Working with Radial Filters is a bit like darkroom dodging and burning. They’re great for adding localized adjust- ments with a soft edge you can control using the Feather slider. Very often it’s useful to apply a Radial Filter effect, adjust the slider settings to achieve a desired effect, and then hold down Command-Option (PC: Ctrl-Alt) and click-and-drag to duplicate the Radial Filter adjustment (or you can use the contextual menu as shown in Step Six). This way you can quickly add lots of Radial Filters with matching settings. ■
CLICK TO RATE
ALL IMAGES BY MARTIN EVENING
015
› › kelbyone.com
